
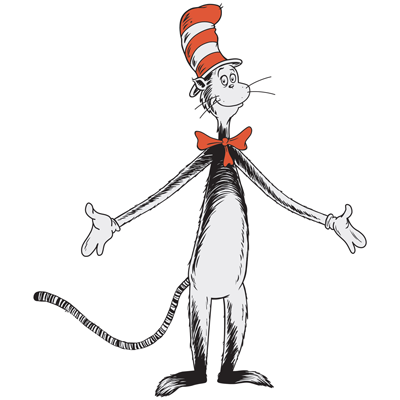
How to Draw The Cat in the Hat in Easy Step by Step Drawing Tutorial
Today I will show you how to draw Dr. Seuss’s The Cat in the Hat. He is a beloved character that every child knows. His books have been pleasing children for decades. Today I will show you how to draw this beloved cat with an easy step by step, illustrated lesson. If you can draw letters, numbers, and simple shapes, you will do well! Have Fun!
How to Draw The Cat in the Hat by Dr. Seuss in Simple Steps
Step 1
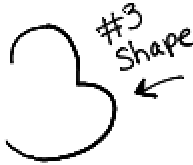
– Draw a #3-like shape.
Step 2
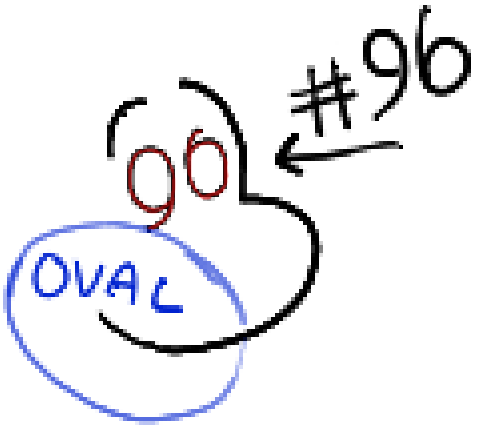
– Erase part of the top of the #3 shape.
– Draw a #96-like shape for the eyes.
– Lightly draw an oval on the bottom-left side of the face.
Step 3

– Draw an oval nose.
– Lightly draw an ovalish-shaped capital letter ‘D’ shape on top of the head.
– Draw a ?-like shaped lip.
– Draw zig-zag shapes on the left side of the face.
Step 4
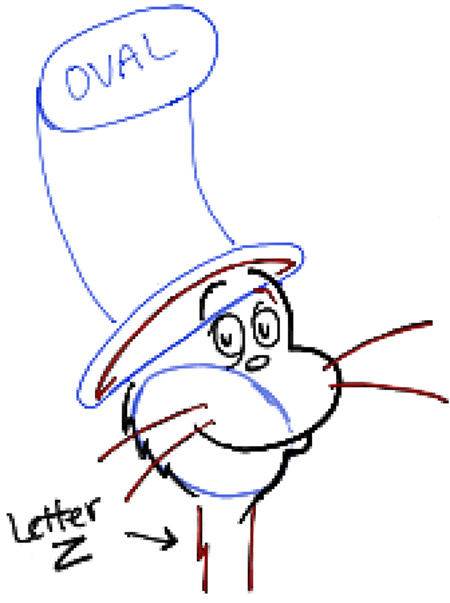
– Draw an oval and 2 curved lines for the guidelines of the hat.
– Draw the inside of the hat with a curved line.
– Draw curved line for whiskers.
– Draw a letter ‘z’-like shape and a line for the sides of the neck.
Step 5
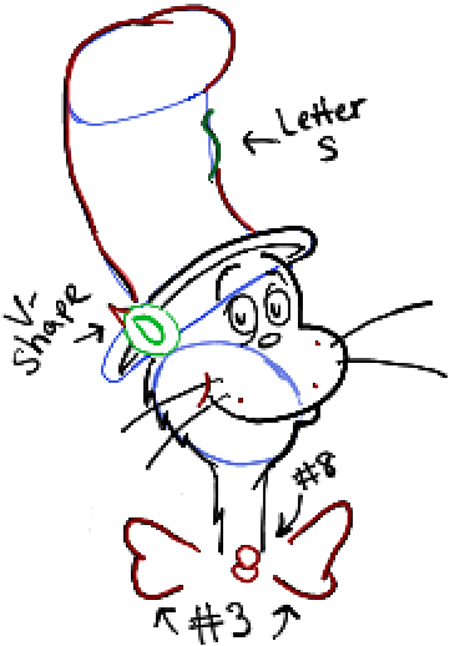
– Outline the hat guide with curvier lines. Also on the left side there is a letter ‘s’-like shape.
– For the ear…lightly draw 2 ovals and a letter ‘v’ shape.
– Draw a curved line for the side of the mouth.
– Draw dots on the face.
– Draw a #8-like shape for the middle of the bow…and on both sides, draw #3-like shapes.
Step 6

– Draw curved lines inside the hat.
– Finish up the bow. Draw a sideways #3-like shape at the bottom of the bow.
– Draw the basic shapes that make up the body…these will be the guidelines to drawing the actual shape of his body.
Step 7
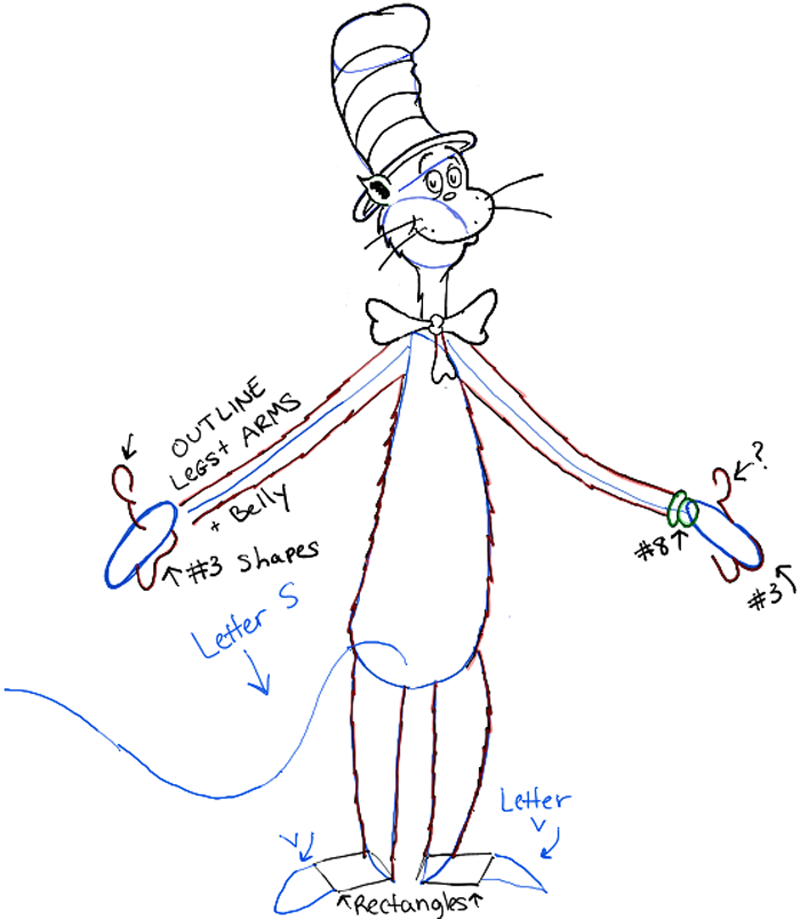
– Finish up his bow.
– Outline the body-guides with zig-zaggy lines.
– For the left hand: Draw #3-like shapes.
– For the right hand: Draw a ?-like shape, a #3-like shape, and a #8-like shape for the wrist.
– Draw rectangles and a sideways letter ‘v’-like shape for the guides to the feet.
– Lightly draw a sideways letter ‘s’ shape for the guide to the tail.
Step 8
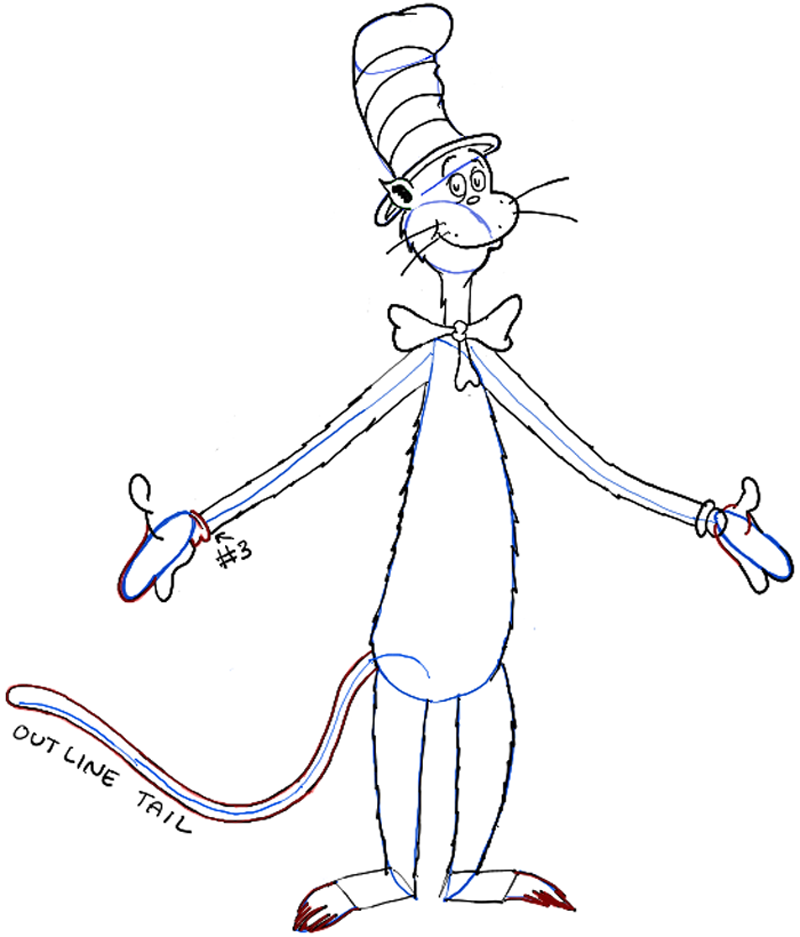
– Outline the tail’s guidelines.
– Draw a #3-like shape on the left hand…as well as a letter ‘u’ shape.
– Finish up the right hand.
– Draw zig-zaggy lines at the sides of the feet.
Step 9
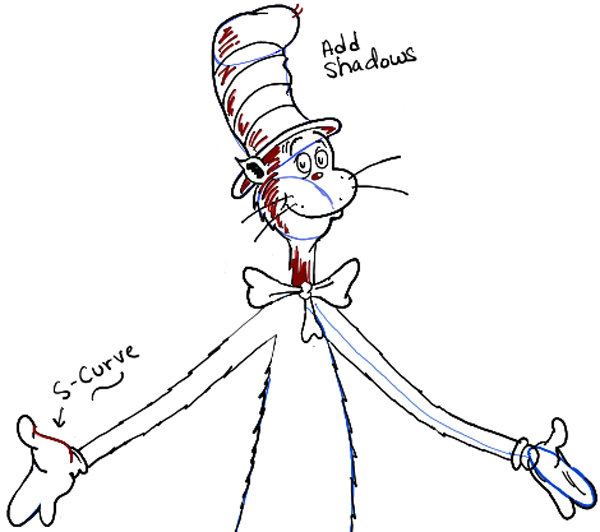
– Start adding some shadows.
– Add a letter ‘s’ curve to the left hand.
Step 10
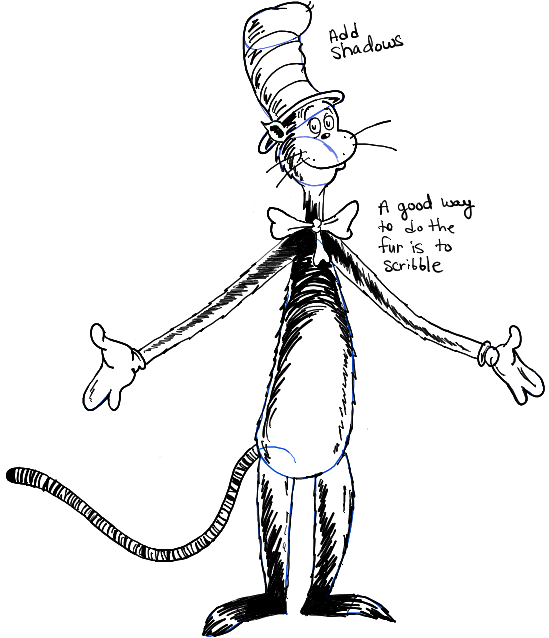
– Continue to add shadows and fur by drawing squiggly, scribbly lines..as seen above.
Finished Drawing of The Cat in the Hat
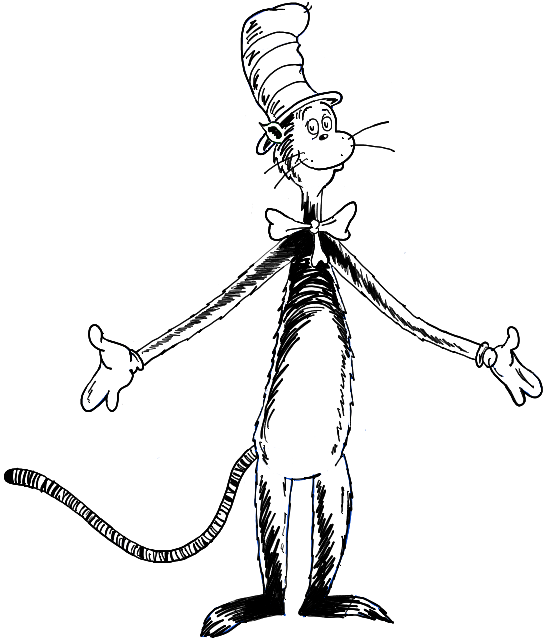
– Erase guidelines that you don’t need any more. You now have an awesome Cat in the Hat. Color him in if you choose to. Come back son for more drawing lessons!
5 Comments
Leave a Reply
Information
This article was written on 30 May 2014, and is filled under Dr. Seuss, Drawing for Kids & Preschoolers.

cool
that is hard
Wow dis is gooooooooooooooooood lol. It mine is bad
make it easy
its hard
Thanks for sharing. I’m going to follow your instructions and then teach my grandchildren. What fun!