How to Draw Tigger from Winnie the Pooh with Easy Steps
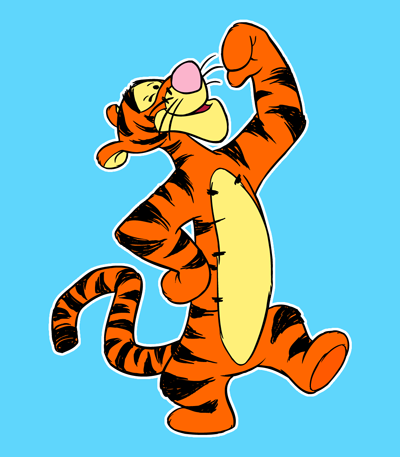
Tigger is one of the most famous cartoon characters and for good reason. He has a lot of spunk and is funny to watch or read about. He is the silly, energetic tiger from Disney’s Winnie the Pooh. You might have either read about him or watched him on TV or in a movie. Today we will show you how to draw Tigger with simple to follow steps. Our step by step drawing tutorial will guide you in the right direction. Have fun!
How to Draw Tigger from Winnie the Pooh with Easy Steps
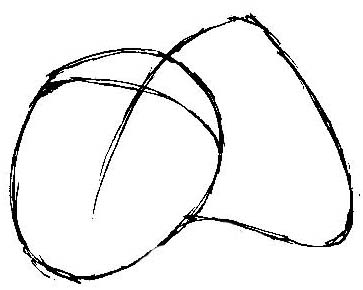
Step 1
-Lightly Draw an oval shape with a letter ‘P’-like shape curve coming out of it.
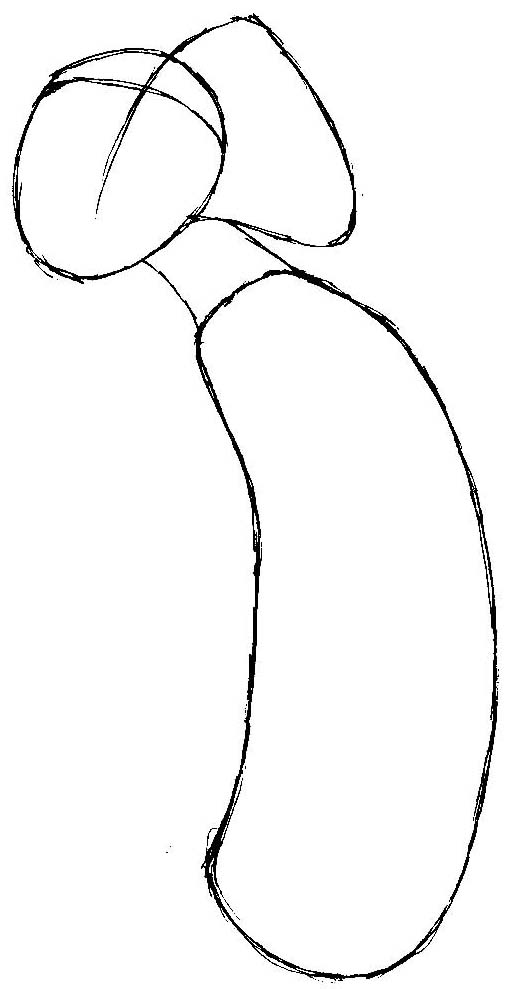
Step 2
– Draw an oblong oval and a neck to connect to the head shape.
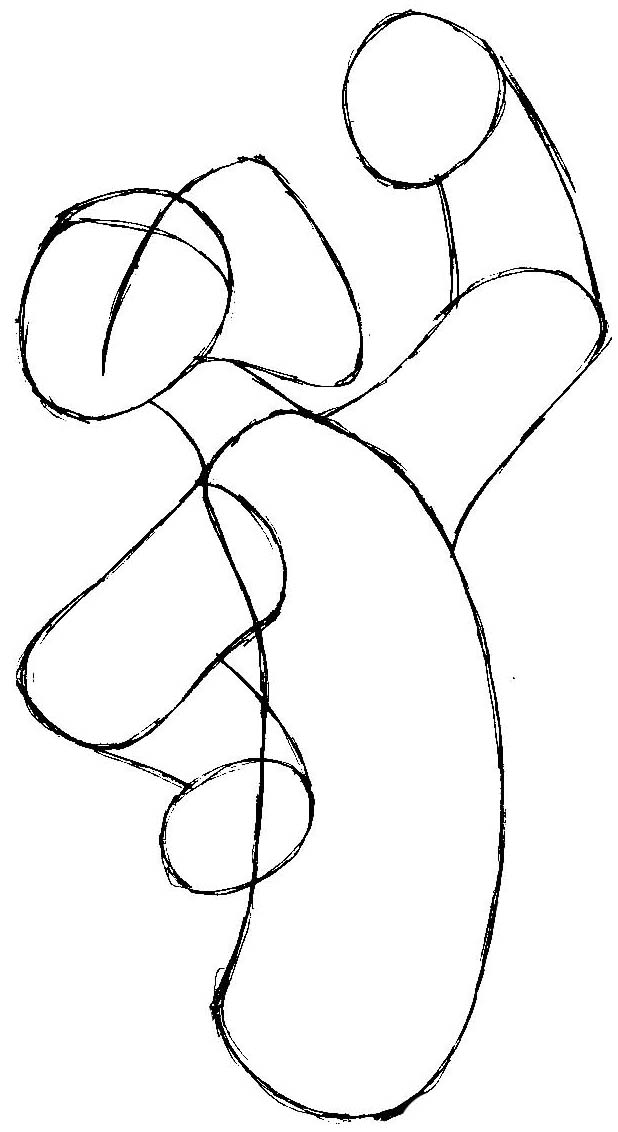
Step 3
– Lightly draw oval-like shapes to form the arms / hands.
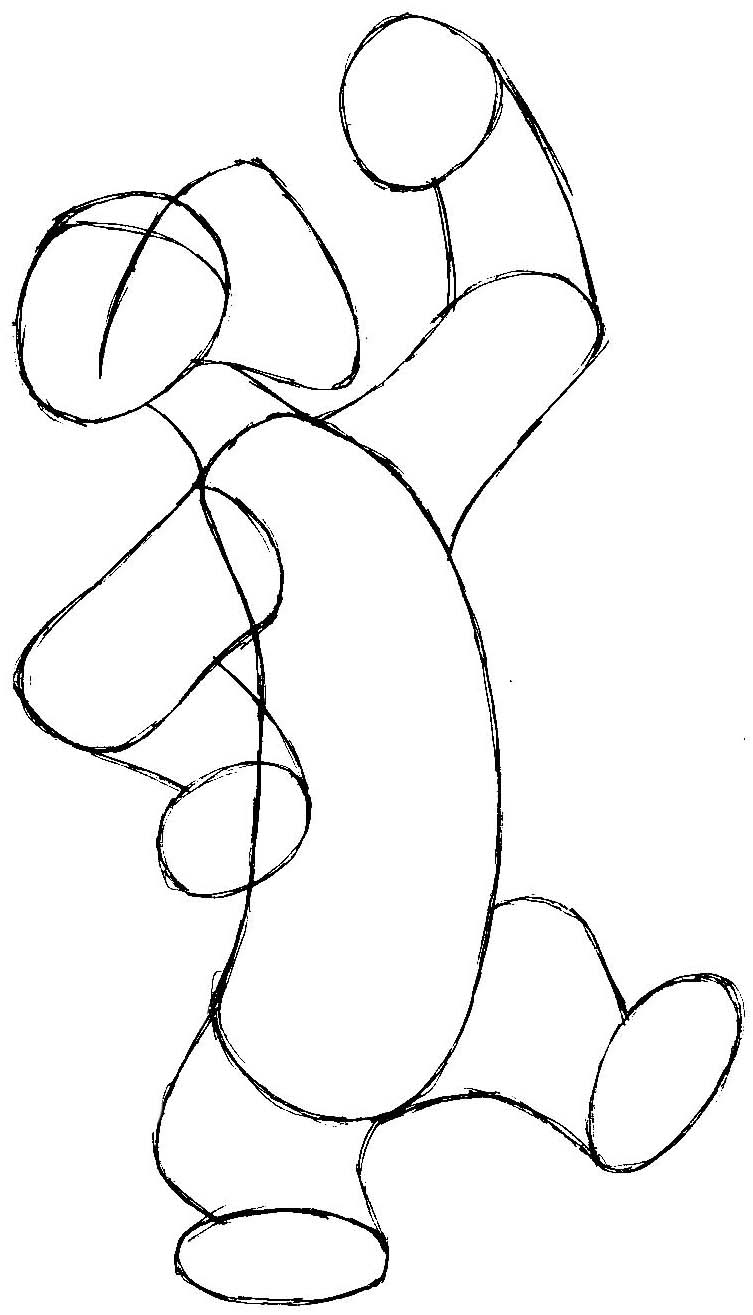
Step 4
– Draw oval feet and then draw curved lines to connect them to the body.
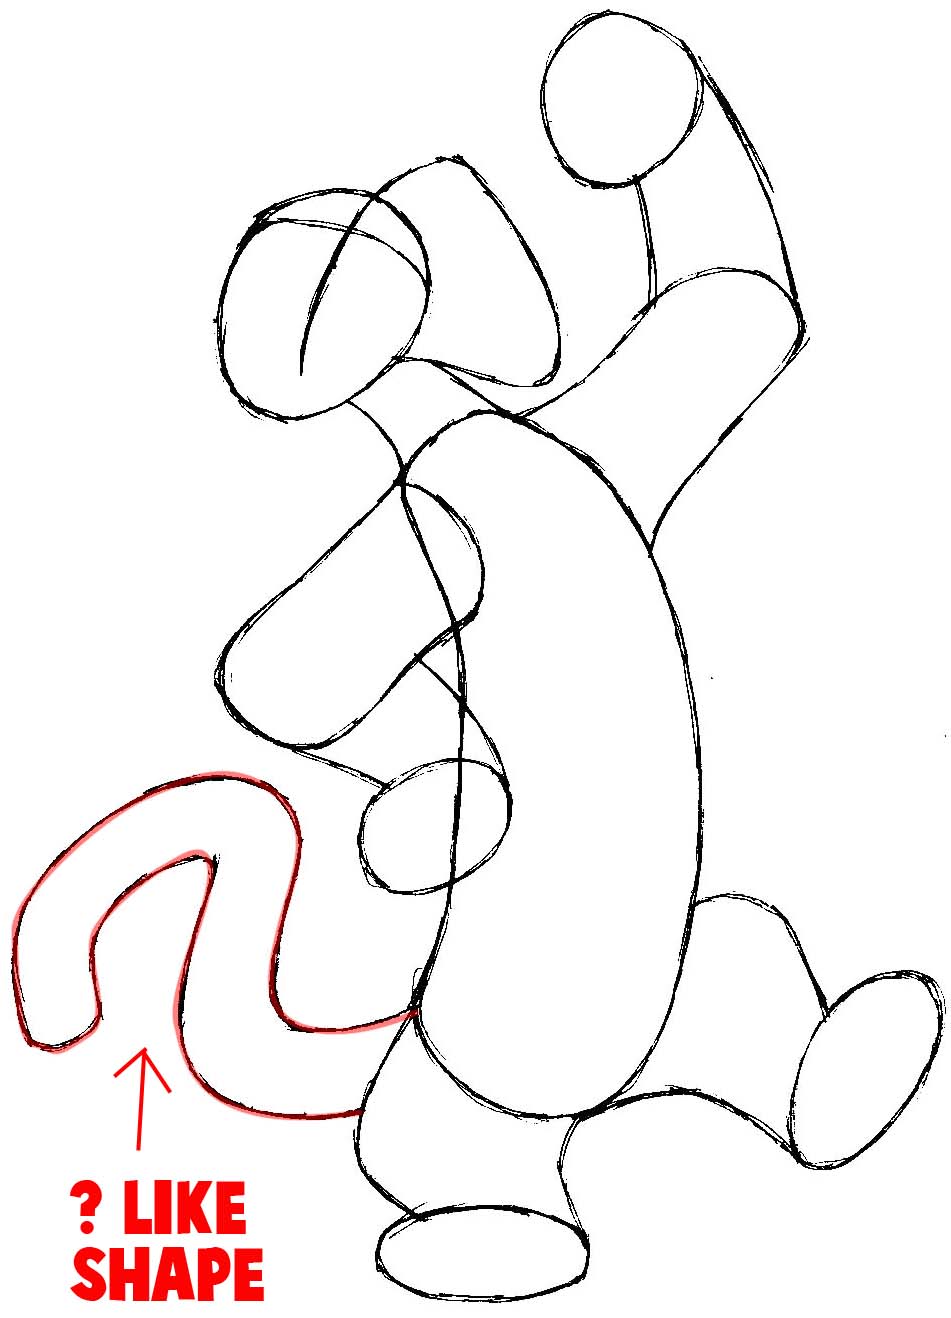
Step 5
– Draw a ?-like shaped tail.
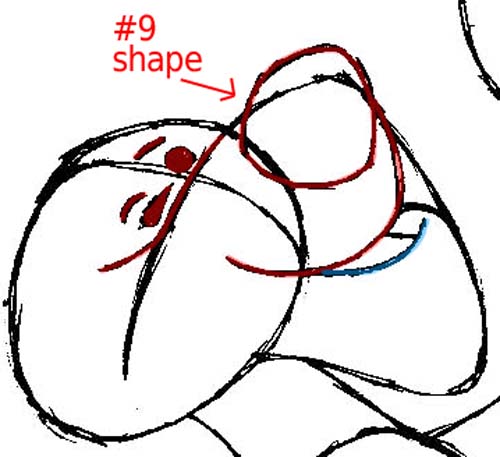
Step 6
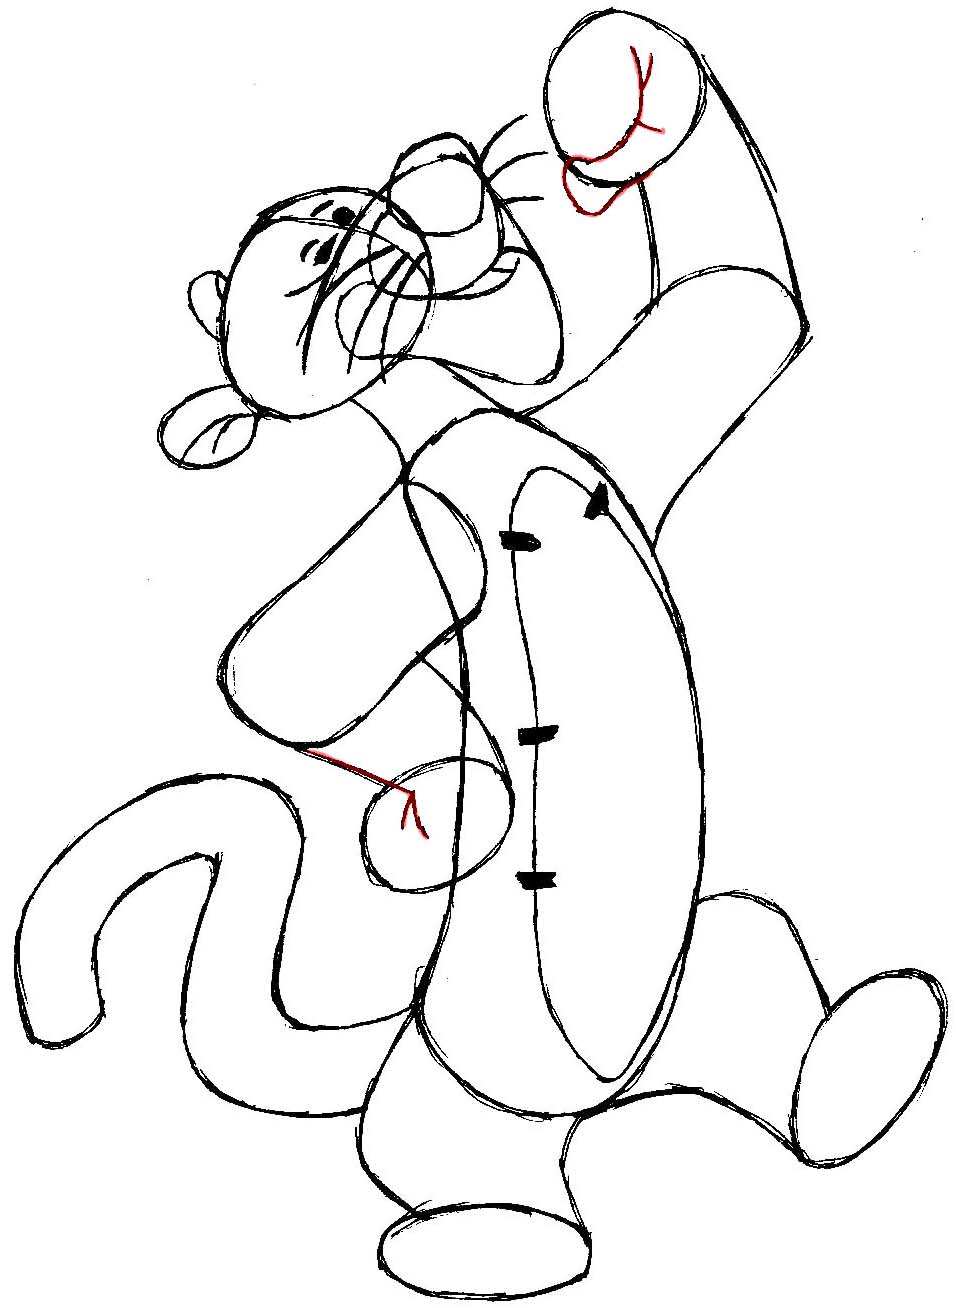
– Now draw the features of the face. I highlighted some shapes to make it simpler for you.
– The nose and the mouth together (highlighted in red) form a #9-like shape.
– The eyes are a circle and a seed-like shape.
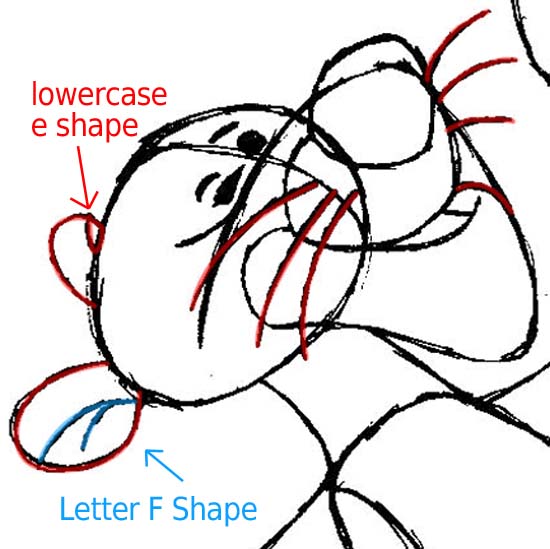
Step 7
– Draw curved lines for whiskers
– Draw a letter ‘e’ and a letter ‘c’ shaped ears. Inside the left ear is a letter ‘F’ like shape.
Step 8
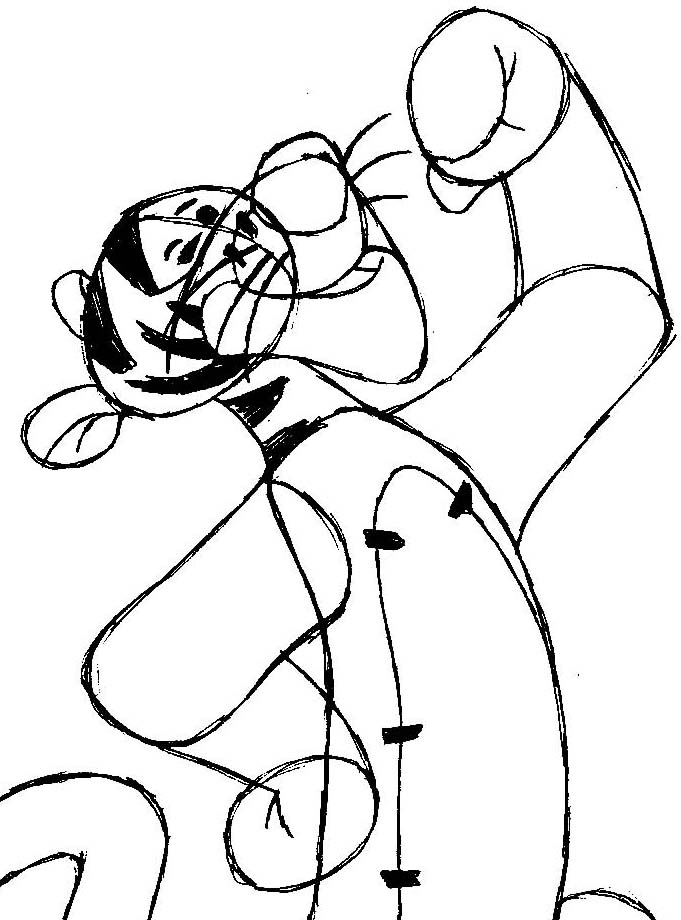
– Draw a few basic shapes in the arms/hands area.
Step 9
– Start drawing the patterns in Tigger’s body. The shapes are rectangle-like and triangle-like.
Step 10
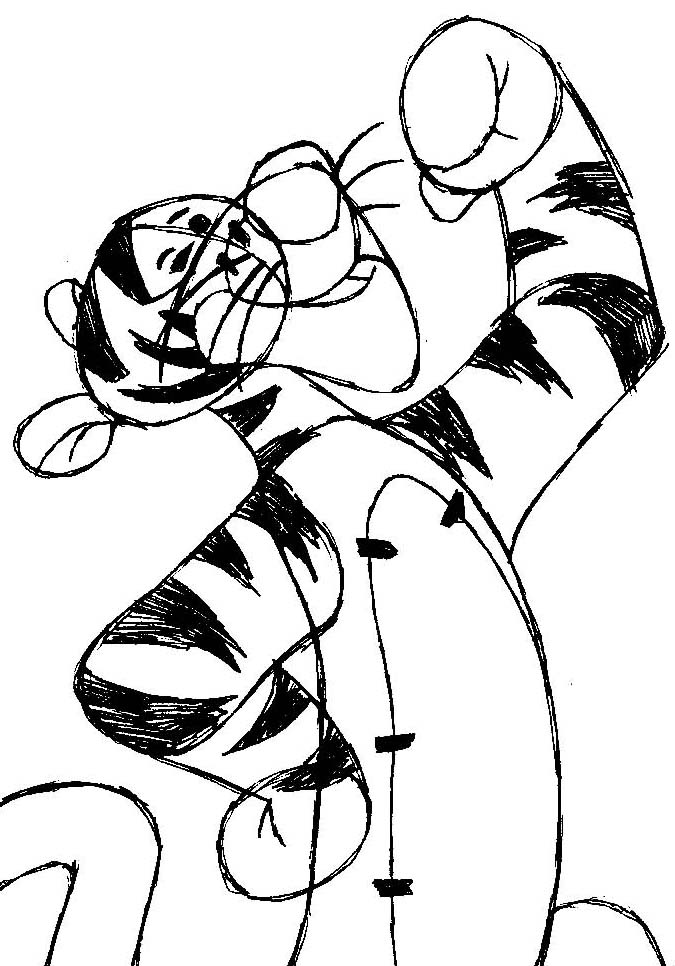
– Continue the patterns down the arms.
Step 11
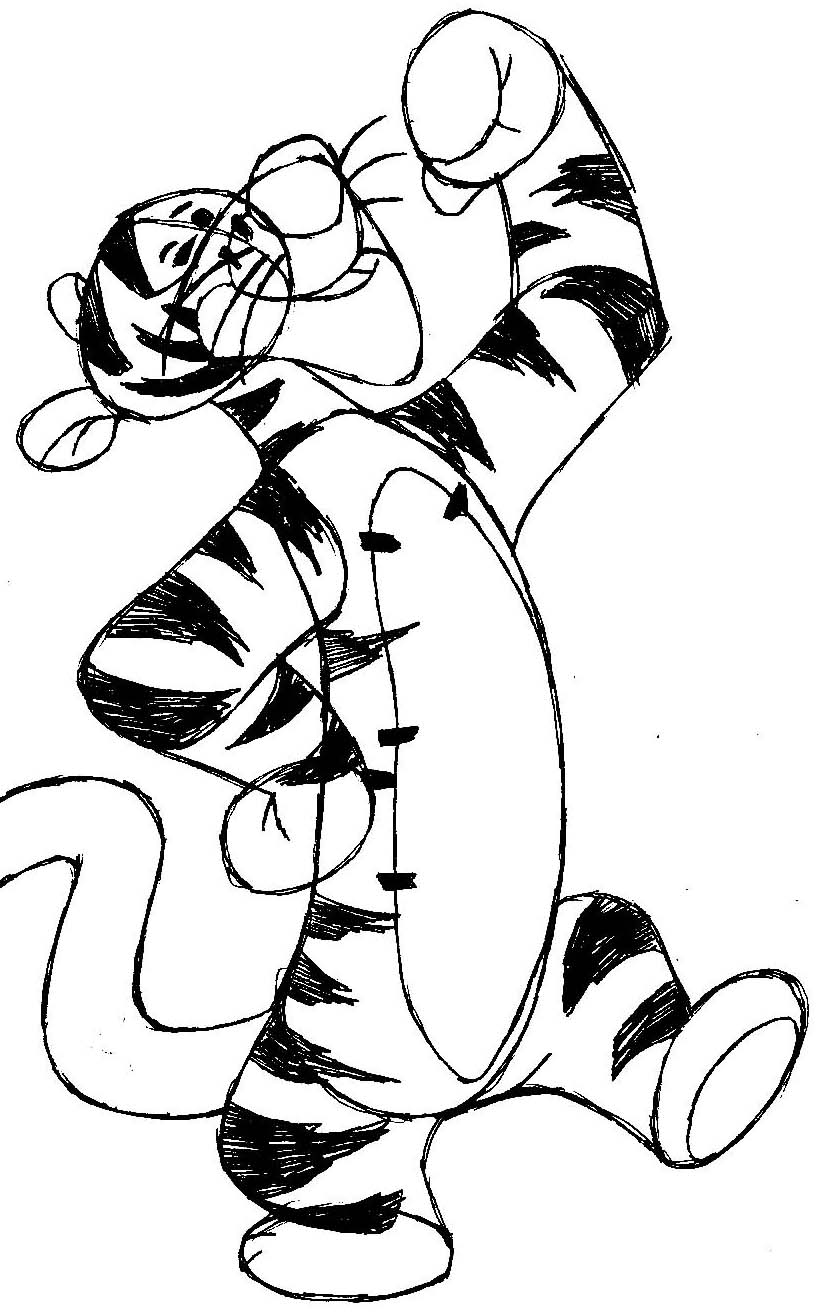
– And down the feet.
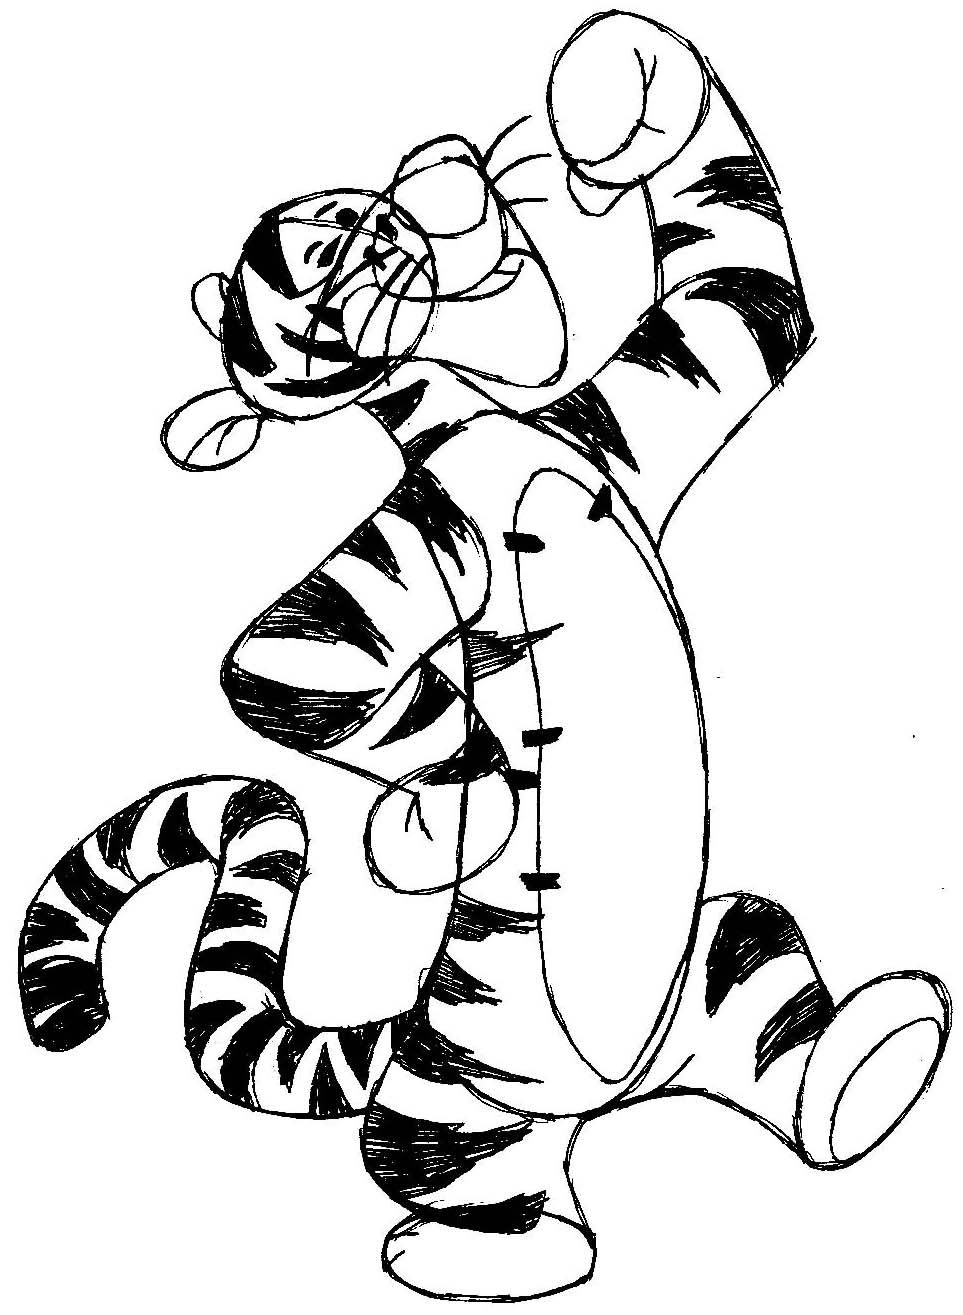
Step 12
– And onto the tail.
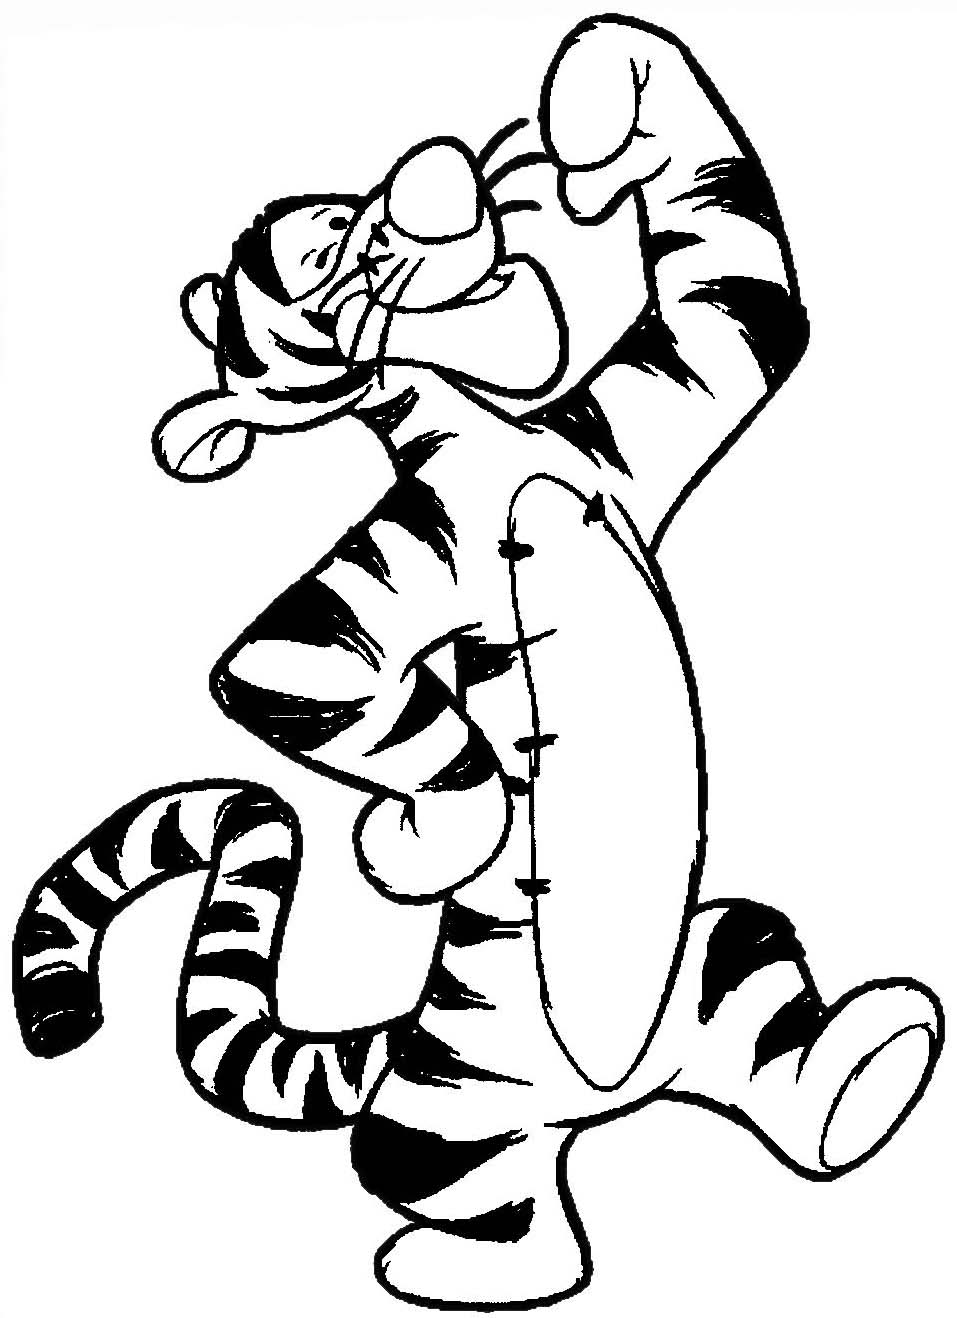
Finished Drawing of Tigger
– Erase guidelines and darken / thicken the lines. You now have an awesome picture of Tigger. You can color him in and then show him off to friends and family. I hope you enjoyed this tutorial and that your drawing came out amazingly well. Come back for more drawing tutorials.
4 Comments
Leave a Reply
Information
This article was written on 29 Jan 2014, and is filled under Cartoon Characters, Disney Characters, Winnie The Pooh.

I love this and it’s good for the little ones to so if you can’t draw this is great for you
this is great and my drawing turned out really well
this was a life saver for me thank you so much!!!!!!
my drawing is great thnx so much